Trying to shape the homemade overhead panel
Getting information
After a small success with the simple switches and multiplexor tests using SimVim and knowing at that point that the idea was something feasible, I started to look for ways to build the overhead panel board that was basically the main idea I had in mind when starting this.
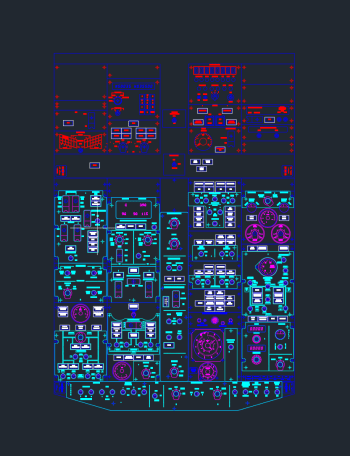
I found some references about real sizes and measures on different websites:https://www.markuspilot.com
(There is a pending website where I could download a DWG file (CAD format) that I cannot find at the moment. When I found it, I'll add it)
Testing leds and measures on cardboard
The next thing to do after testing the switches to be able to turn on things, was to create some visual indicators using leds and displays to check the status of certain instruments (like for example, the landing gear status, alarms, window head indicators, among a lot more)
Reading a little of documentation I saw that it was pretty simple to achieve. Just using some led drivers (DM13A for example) and resistors it is super easy to create indicators with the SimVim plugin.
Some updated documentation on this site:https://realsimcontrol.com/io_led.html
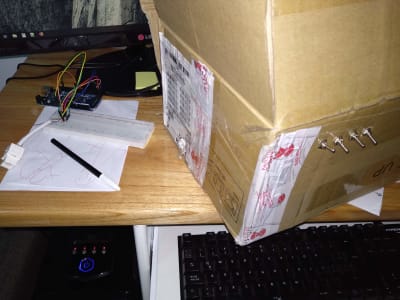
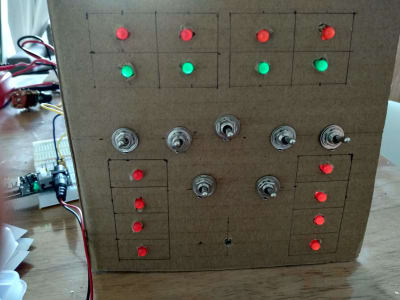
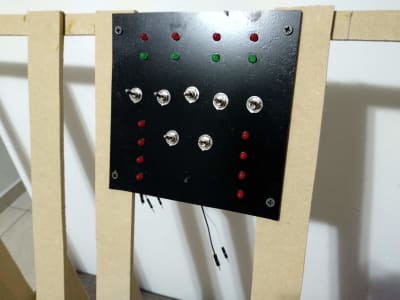
Following the tests, I chose a specific overhead panel section from the Boeing 737. That section is the one with the switches and indicators for the window heat and probe heat.
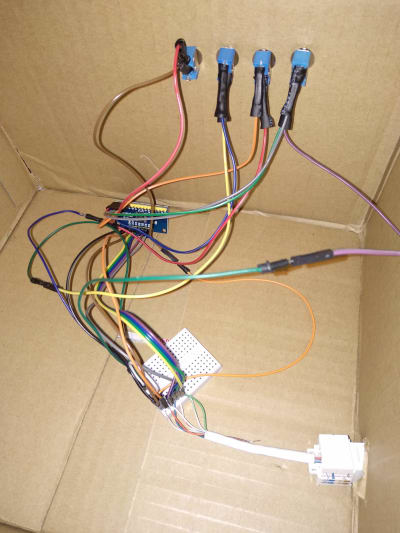
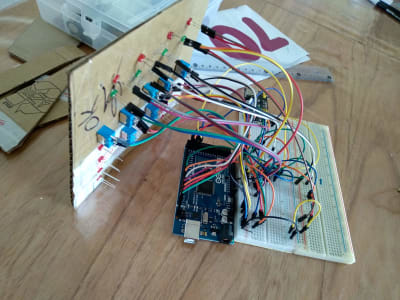
At that point in time I had no tools or experience to work with different materials, I made some mockups using cardboard boxes and I think those hours invested were worth it and I was satisfied with the results:
Using some MDF
I've Never ever in my life made something using MDF or wood, but there is always a first time for everything right?. I started with a 5mm MDF board (I think it was technically half a board but years passed and I don't really remember).
With the help of my friend cardboard I made some real size pieces to imitate each overhead section to have an idea of real sizes, real spacing needed for the panel, wiring constraints, how to close the structure, etc.
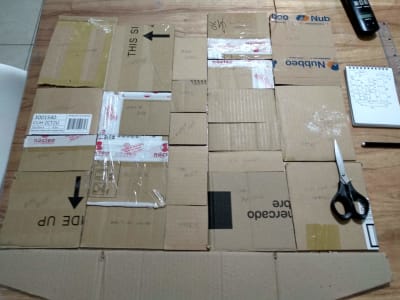
Once I got something to start with I designed a basic structure to have the overhead panel so it can rest on a table (without the structure that holds it over our heads. Because that would be like a second project once I'm pretty sure the functionality is working flawlessly)
I got a wooden jigsaw and after some tests this is what I got (don't be rude, it has many defects but it was the first time I used a wooden jigsaw in my life)
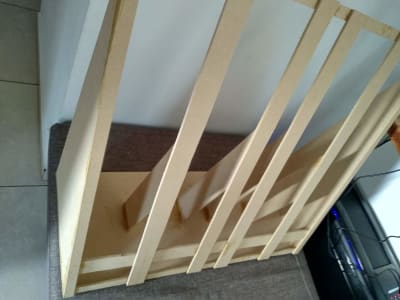
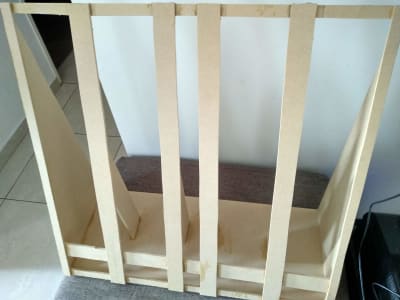
Thinking about the backlight for the panel
The real dashboards have a series of plates between which there is lighting that allows, in low light, the instruments to illuminate a little and be identified without problems with low visibility inside the cabin.
To convert that to something homemade, I saw several videos of people using transparent acrylics and playing a little with paint, or by placing some type of paper between the acrylic and the illuminated surface they get decent lighting.
At that moment I still had not resolved how I was going to be placing the letters with indications on the boards (which are the main thing to illuminate in these cases), but at least I wanted to test how much light I could reach from one side to the other with different alternatives.
In the end I decided to use transparent acrylic and paint it black (or gray, depending on the section of the board).
Making the same section of the overhead panel that I made in cardboard with the window heat switches, this was the result:
A little discouragement
The first problem occurred when I did not carry out tests on how the light was going to really impact the backlight before starting to build many pieces (probably using a 5050 LED strip with white color or one that supports RGB, looking for an amber color that would be closer to the real color)
I started taking measurements, making cuts, painting acrylic panels, drilling holes and placing components to see how it would turn out.
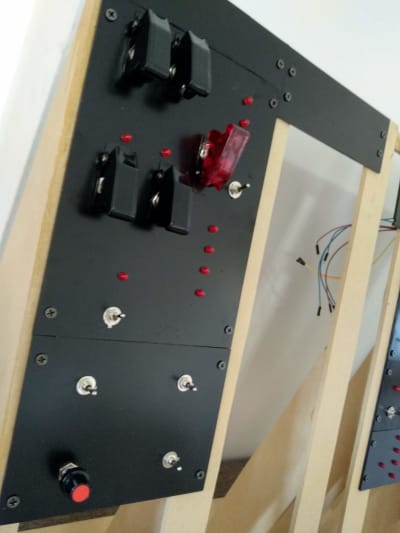
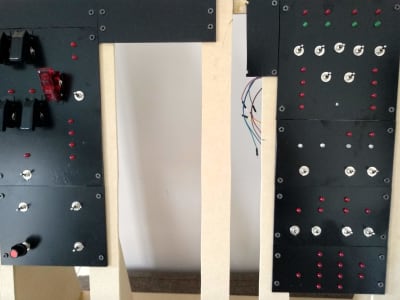
At that moment I realized I was going down the wrong path (it was going to be functional eventually, yes, but it wasn't going to look the way I wanted. While I wasn't looking for an excellent level of detail or exact copy of the original plane this just wasn't what I was aiming for either)
The project was then paused for a couple of years for different reasons (the biggest of which was the birth of my second daughter and the time I had to dedicate to the project disappeared for a while).
Thanks for reading!


