The beginning of a hobby? aviation electronic panels and Arduino
Motivation
Passion for airplanes and flight simulators sometimes make some people want to use their knowledge (and of course to obtain new ones from other people on the internet) to try to replicate some of the greatest airplane cockpits in the world, but created at home. Also known as home cockpit builders.
It use to be an expensive hobby both talking about money and also time. And when you have more knowledge about different techniques and useful abilities it is better because of the amount of different tasks needed to build those amazing replicas.
In my case, the idea first came up almost three years ago. At that time I started to use the most popular flight simulator at the moment, called XPlane 11 which totally blew my mind. (A lot of different people would say that P3D was the most popular and I don't have arguments to deny it because I never tried it, so just consider this as my own experience and opinion).
Before that the last flight simulator I had used at that time was Flight Simulator 98!! (I know!!...)
At those moments, youtube was always suggesting me a lot of different aviation and simulation content. In the middle of all that content I found a man's video that was proposing to build an overhead panel for a Boeing 737 800 (I'm so sorry I couldn't find the specific channel and video to share with all of you)

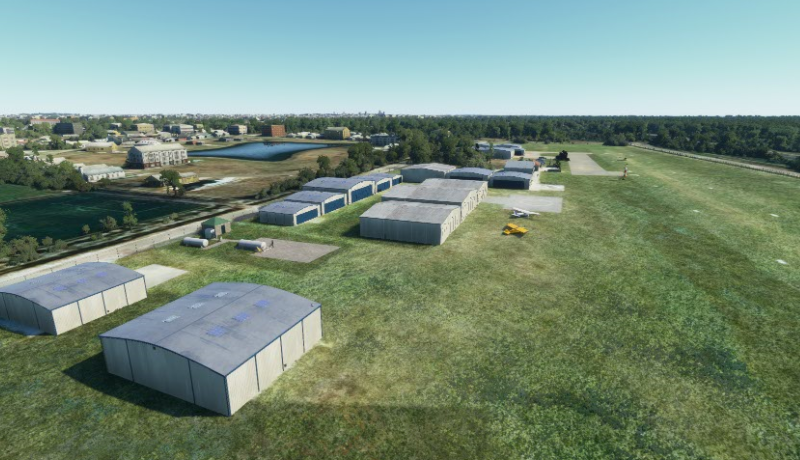
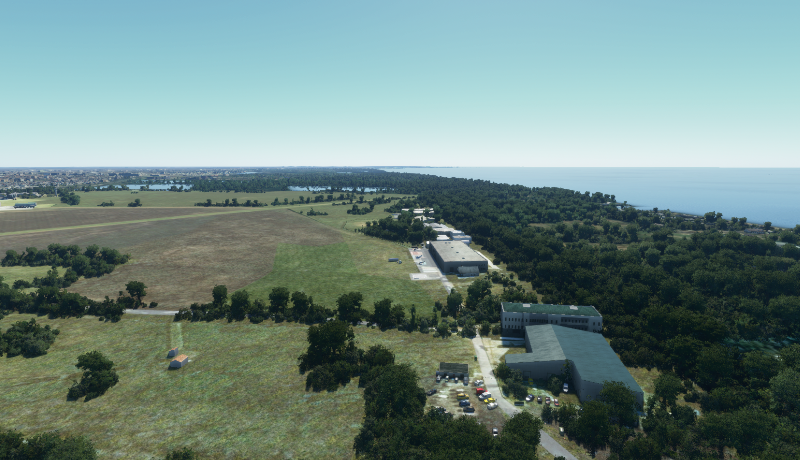
This is a Boeing 737 800

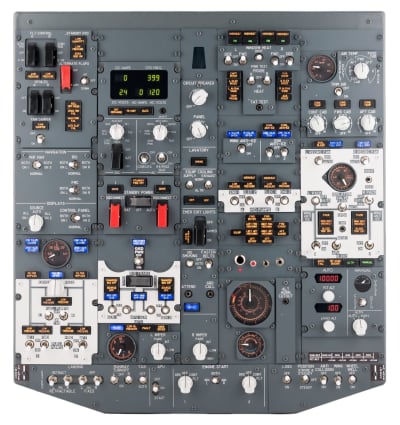
This is a Boeing 737 800 overhead panel
That video also blew my mind because of the amount of detail it was designed for, all switches places with an accurate I couldn't dream about yet. And something at that time I didn't thing it was possible to achieve was the beautiful backlight and the clarity of the labels on the faceplate. So... I started to read, I made some research about what basic things I needed to know to develop something like that for my hobby on flight simulation. I didn't mention this before but I'be liked airplanes almost since I have memory.
Baby steps
I checked what kind of materials would be practical to use for the panels.
Most people use wood. I think MDF because of the price. Others just use some kind of plastic like acrylic for example. For my first concept test I decided to buy a small plastic case so I didn't have to deal with wood crafting because I had zero experience on that.
An Arduino electronic microcontroller was also a good idea to handle interactions between hardware and software. The model I was going to use was still unknown because there were different models with different pricing and I had no idea what those were for.
An Arduino 'one' would be enough for some basic tests but the recommended one at that time was an Arduino 'MEGA' because of the amount of inputs/outputs it could handle. It means more switches, leds, encoders which was basically what I was going to need for the overhead panel (a very ambitious project I have to admit).
After some further research and more reading on the internet about tools, software, wiring details, etc I found a tool/piece of software called SIMVIM (https://simvim.com) designed to help home cockpit builders and designers to interact with the flight simulator instruments and variables (I got there particularly looking for ways to interact with the XPlane 11 software without having to reinvent the wheel programming my own development environment or interface between the simulator and the microcontroller).
SimVim offers with just a few clicks to link directly the Arduino pins with switches, encoders or even leds or servo motors to interact with the virtual instruments.
At that time, I started to visualize that the amount of different modules I had to build and design to work with each other was a lot of work for someone with no experience building that stuff (I don't have at hand the initial mocks I made but those were similar to something like this probably)
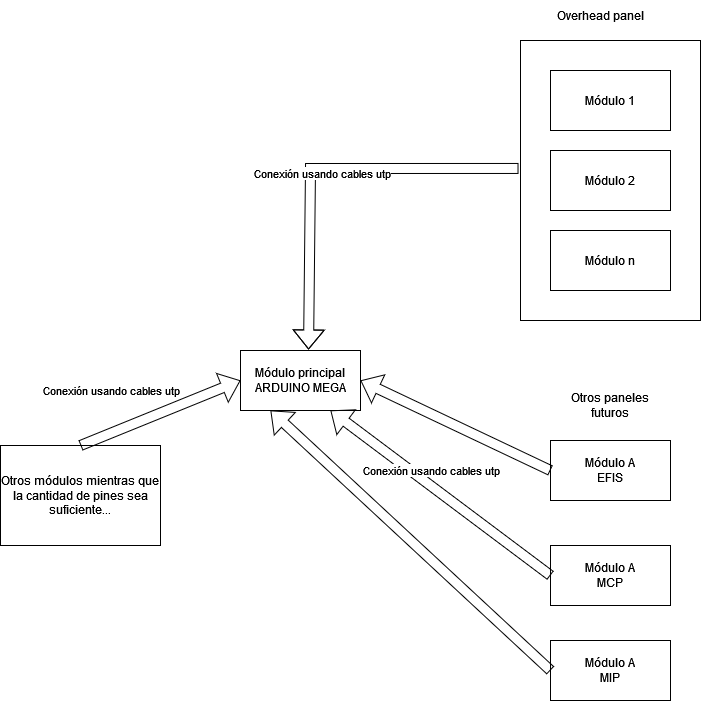
Having a technical background because of my education I had some knowledge about programming and electronics so it was not that difficult to interact with the documentation I found all over the internet (by the way, SimVim documentation is excellent!). So I set everything to start building my first extra basic prototype to check how factible it was to build what I had in mind (At that time the big objective was to have a complete 737 overhead panel, something that later after that I would realize it was too ambitious for me with that amount of experience and time)
After some tests and getting the needed materials (some cables for wiring, a protoboard, some resistors, the Arduino board) I got my first test interacting directly with the Flight Simulator software turning on and off lights on the Boeing 737 (I was using XPlane 11 and the zibo mod 737).
All this happened in less than a month so you can imagine the hype I had at that time to continue with the project.
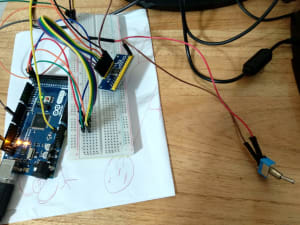
First build
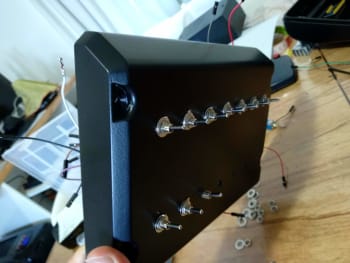
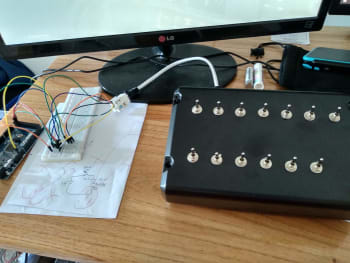
From here, I wanted to move one step higher in complexity and add some switches to handle all the different lights available on the airplane (external lights, anti collision, winds, taxi, landing, etc)
As the Arduino board has a limited amount of inputs you can't just put a switch on each input for a project of this size such as the overhead panel for a Boeing 737 which could have more that one or two hundred elements between switches, rotary selectors, leds, etc.
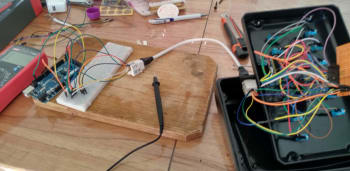
So second step from here was to add a multiplexor to achieve that one input could handle several controls at the same time. And it worked like a charm!!
Thanks for reading!


